Post by TasunkaWitko on Jul 10, 2012 13:07:48 GMT -5
My first attempt at Canadian Bacon
Canadian bacon is good stuff indeed, whether for breakfast, lunch or supper; with eggs, on a sandwich, on pizza or just by itself, nothing beats smoky, cured pork.
Wikipedia provides a little background information under the heading "back bacon," which is what it is called in other parts of the world:
Earlier this year, I engaged in my first attempt to make Canadian bacon, using two pork loin filets that I bought, and this recipe, from Morton:
It sounded easy enough, so I gave it a try. My variations on the recipe above are here:
a) In an effort to get some maple flavour into the party, I added some Mapleine.
b) Instead of white sugar, I decided to substitute dark brown sugar equal to the amount of the Tender Quick used, which is a technique I have had some success with in similar projects, such as my venison "dried beef."
c) I planned to cool-smoke the cured loin filets for a few hours in my Little Chief smokehouse, but weather prevented this.
d) In lieu of the smoker, I brought the product up to about 150 degrees in the oven, so that it was "fully cooked" before packaging and could, if desired, be eaten "straight off the cut."
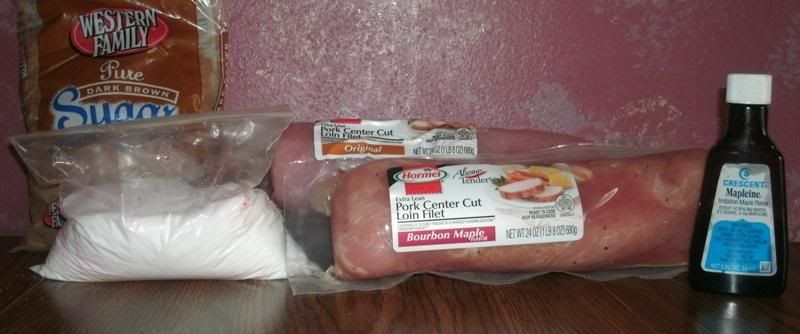
The project was not complicated at all, but it is one where you want to pay attention to procedure, because when curing meat, you want your amounts of cure and your length of time curing to be correct. Here's a shot of everything I used (Tender Quick is in the ZipLock bag):
The loin filets were a couple that I bought on sale just for this purpose. One was "plain," while the other was flavoured with some sort of "maple and bourbon" flavouring:
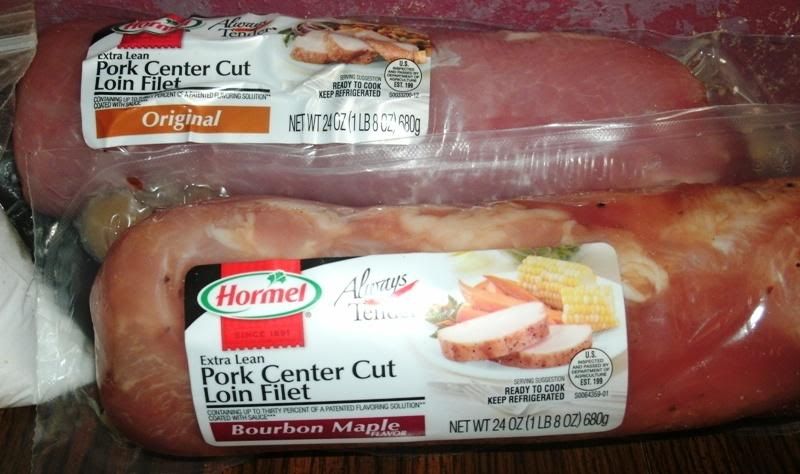
Skipping ahead a little, I noticed no appreciable difference in the finished products. The "maple and bourbon" one had just a tad more depth, but nothing to really get excited about.
Mapleine, as described above, is an imitation maple flavouring:
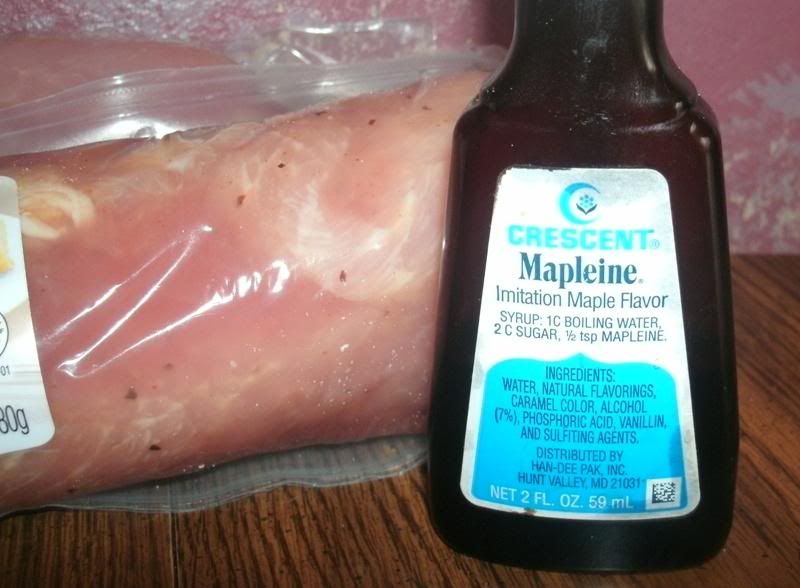
I used this imitation maple flavour, since the cost of maple sugar was prohibitive; It was adequate, but I would have preferred maple sugar, and might try maple syrup in a future attempt.
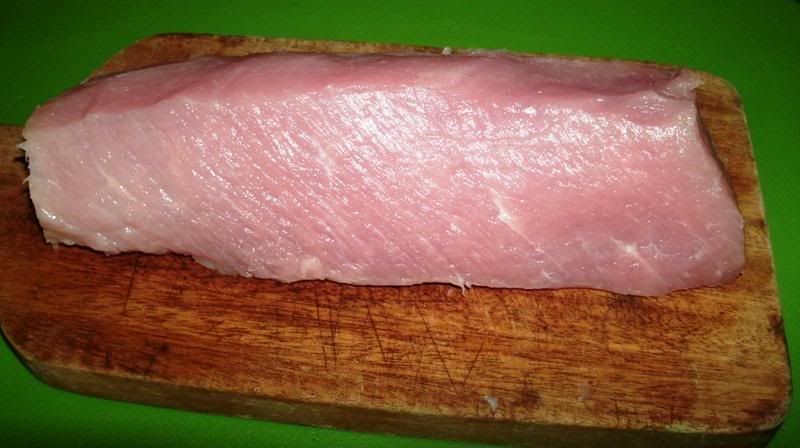
First, I trimmed the fat and silverskin from the loin filets:
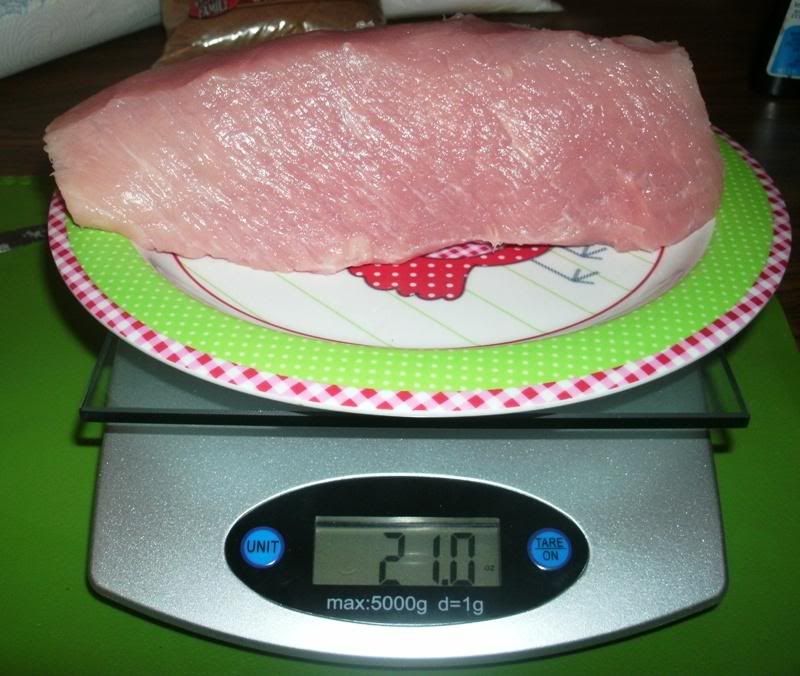
Then, I weighed each loin:
This one got a little chopped up in the trimming, but that's ok:
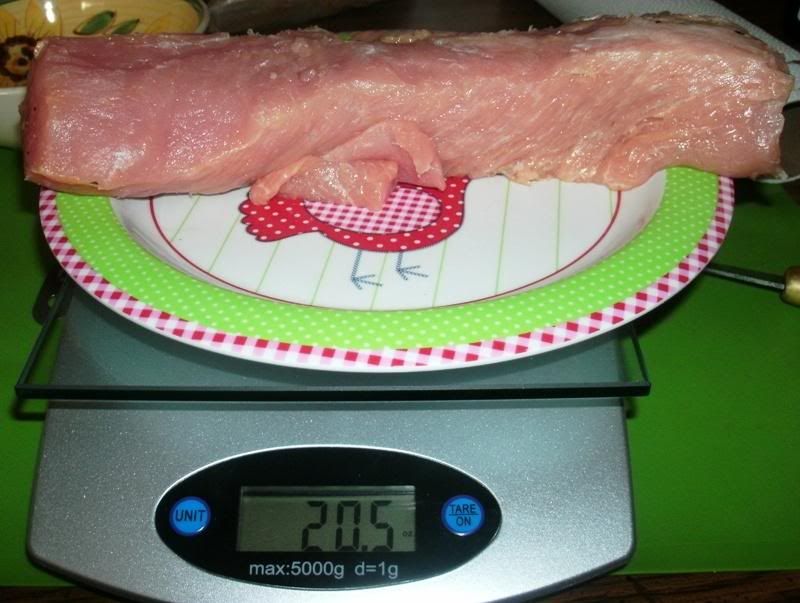
The curing process will often "glue" pieces back together; if not, then those cut pieces will simply be used as "test pieces!"
Next, I cured each loin separately, following the directions for curing with Tender Quick:
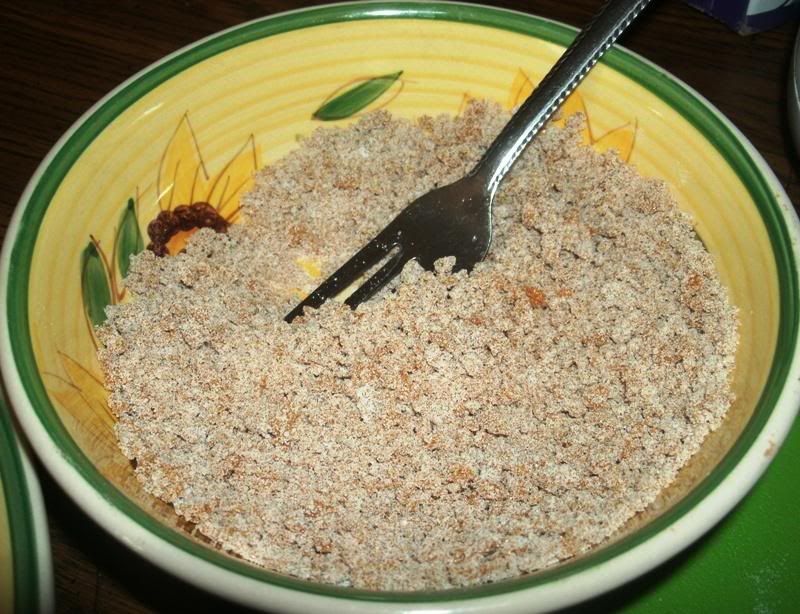
Using a dry cure (The cut of meat is not soaked in a liquid pickle or brine), the directions call for using 1 tablespoon of Tender Quick per pound of meat, using whole cuts. Since the loin filets were each close to 2 pounds, I rounded up and used 2 tablespoons for each loin. I also added an equivalent amount of dark brown sugar for each loin.
I rubbed each loin filet (on its own paper plate) with the cure, then placed each loin (and any extra cure that fell off onto the paper plate) into a vacuum seal bag. Once this was done, I vacuum sealed each loin in its required amount of cure, with 1 tablespoon of Mapleine added to each bag:
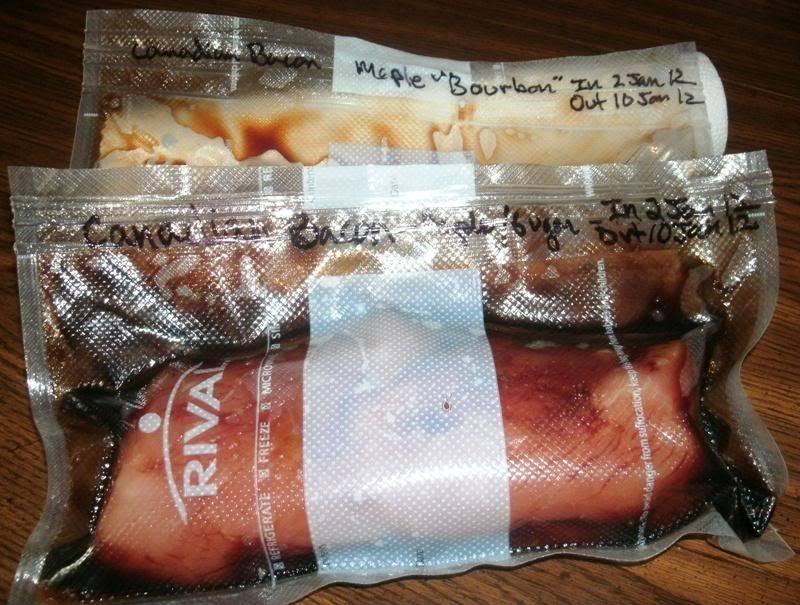
Due to the difficulty of using the vacuum sealer with the Mapleine in the bag, I will probably use appropriately-sized ZipLock bags in the future. The vacuum-seal does have a few advantages when liquids are not used, because the sealing action "presses" against the meat, forcing the cure into it; however, you need to be careful when you put the stuff in, or the little grains of cure and/or sugar might prevent a good seal. To guard against this, I use a trick I learned from my friend BearCarver: roll the edges of the vacuum seal bag down a couple of inches, like cuffs on a pant leg. Problem solved!
As you can see above, I labeled the bags with an "in" date and an "out" date, which is determined by the thickness of the cuts of meat (5 days per inch of thickness). The "out" date is the earliest that the loins can come out of the cure, although leaving them in a day or three longer won't hurt. In this case, I ended up curing for a total of 12 days.
Once the curing was done, I removed the loin filets from the vacuum seal bags and soaked them in cold water for 30 minutes to remove excess salt. I fried up a couple of test pieces that had sloughed off during trimming, and they tasted great, with good, old-fashioned, sweet/salty cured flavour and a hint of maple. The Mapleine had coloured the meat so that it was a little darker than normal, but no worries.
I had planned on smoking the loins for a while in hickory or maple, using my Little Chief smoker, but the extreme January cold outside made this an impossibility. No worries, this was just a first attempt, and there will be many, many opportunities to make smoked Canadian bacon in the future!
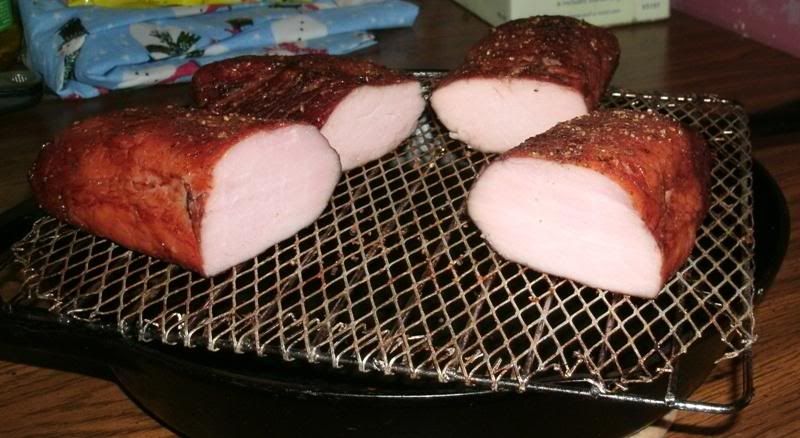
With this in mind, I proceeded to Plan B. I gave them a good shaking of McCormick Smokehouse Maple Seasoning and cracked black pepper, and then put them in refrigerator overnight to develop a pellicle and absorb the seasonings. The next morning, I put them in the oven at 325 degrees for about an hour, until the internal temperature reached somewhere between 145 and 150 degrees. Here's how they looked when they came out:
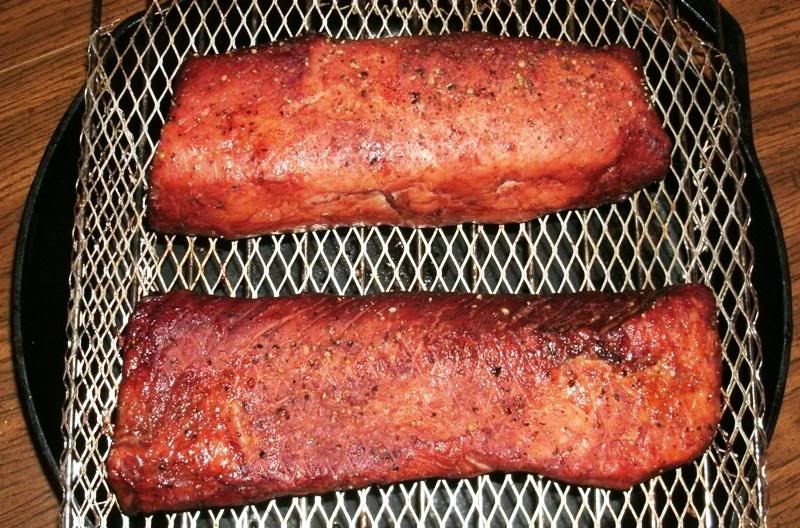
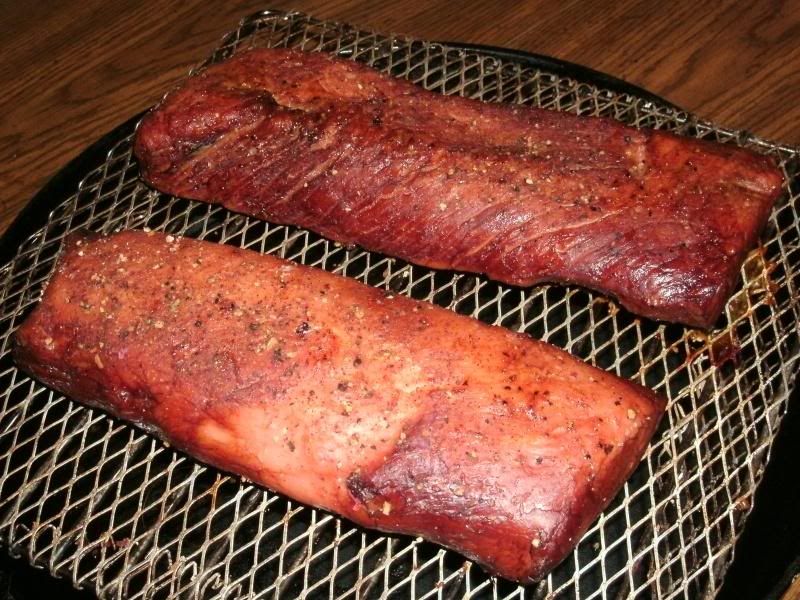
Definitely good for a first attempt! I was impressed with colour and the aroma, and had to stop myself from trying them right away. Here's another shot:
Mustering all the self-control available to me, I put them in ZipLock bags and into the refrigerator overnight, so that the flavours could do a final mingling and marrying. This step, plus the overnight "pellicle" step, may or may not have been necessary for this non-smoked attempt, but they are absolutely necessary when smoking cured meats in order to improve the final product, and they surely couldn't hurt, so it was no big deal.
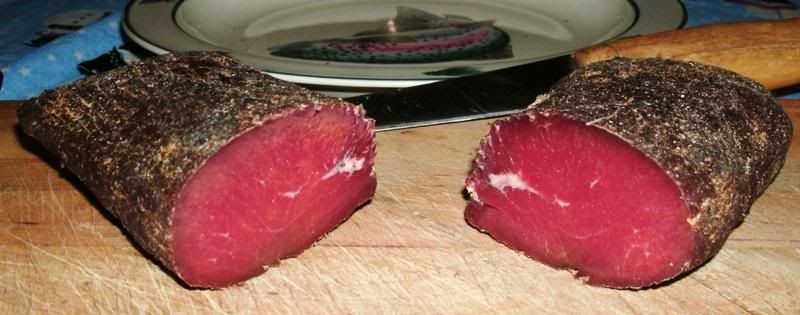
The next day, I removed them and cut them in half, opening them up to see what I had:
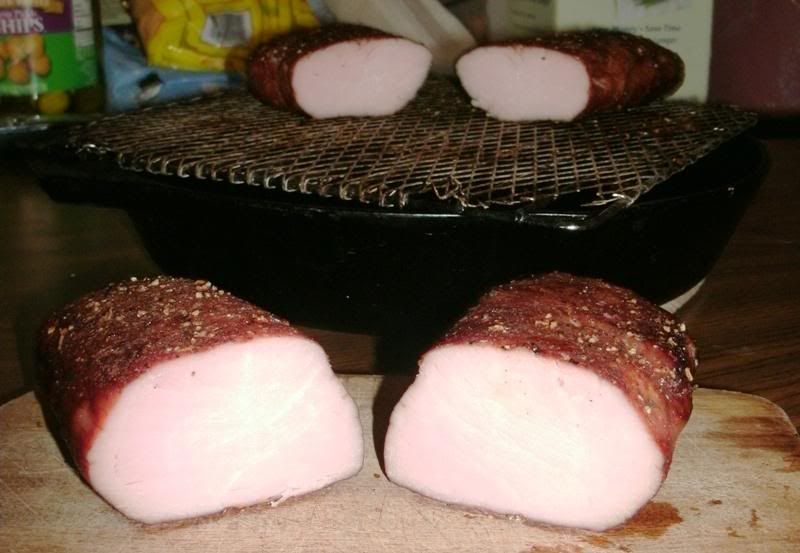
Try as I might, I never could get a good shot here; the interior kept washing out with a flash, or it was dark and blurry with no flash. It's too bad, because the beautiful, cured-pink interior was just about right:
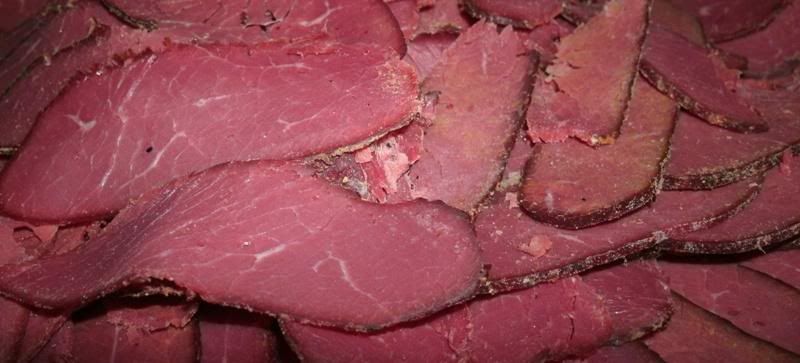
I ran the Canadian bacon through my slicer, making fairly-thin slices, and tasted the finished product. I immediately got a mouthful of wonderful, complimentary flavours, and the texture was almost perfect, so I count it as a success. It would have been nice to smoke them, and the maple flavour didn't come through quite as much as I wanted to, but the salty-sweet, cured taste was definitely there, and this was at least as good as any Canadian bacon I have ever bought in a store. In subsequent days, I tried it cooked with eggs, on sandwiches, in soups and on pizza, and it was good every time.
Was I successful? Yes, for the most part. All-in-all, this method is very sound; I simply had a little bad luck in execution. I resolved that In future attempts I would definitely put the smoker to work; I will also double the amount of Mapleine I use or, if possible, use maple sugar or maybe even maple syrup. In any case, I will definitely be making this again, and looking forward to the results!
Thanks for following me on this journey as I tried something new. I believe that this pictorial is complete and will be useful for anyone wishing to try this; however, if anyone has any questions, please feel free to ask ~
Canadian bacon is good stuff indeed, whether for breakfast, lunch or supper; with eggs, on a sandwich, on pizza or just by itself, nothing beats smoky, cured pork.
Wikipedia provides a little background information under the heading "back bacon," which is what it is called in other parts of the world:
Back bacon is bacon prepared from centre-cut boneless pork loin. The name refers to the cut of meat, which is from the back, and distinguishes it from other bacon made from pork belly or other cuts. Like other bacon, back bacon can be brined, cured, boiled, or smoked. It is much leaner than streaky bacon, and is sometimes sold in the US as Irish bacon or Canadian bacon, owing to the popularity of back bacon in those countries.
In Australia, it is known as short cut bacon. In Ireland, slices of back bacon are also known as a back rashers. In the United Kingdom, although other types are available, it is the most popular form of bacon, and thus 'bacon' usually refers to this cut.
In Australia, it is known as short cut bacon. In Ireland, slices of back bacon are also known as a back rashers. In the United Kingdom, although other types are available, it is the most popular form of bacon, and thus 'bacon' usually refers to this cut.
Earlier this year, I engaged in my first attempt to make Canadian bacon, using two pork loin filets that I bought, and this recipe, from Morton:
Canadian Bacon
Ingredients:
1 boneless pork loin
1 tablespoon Morton® Tender Quick® per pound of loin
1 teaspoon sugar per pound of loin
Directions:
Trim fat from pork loin. Mix Morton Tender Quick® and sugar. Rub mixture into the loin.
Place loin in "food grade" plastic bag; tie open end. Refrigerate and allow to cure for 3-5 days [see notes below].
Remove from cure. Soak loin in cool water for 30 minutes; pat dry.
Refrigerate uncovered to dry slightly before cooking.
Cut into 1/8 inch thick slices. Preheat skillet; brush with oil. Fry over low heat, turning to brown evenly, about 8 - 10 minutes.
It sounded easy enough, so I gave it a try. My variations on the recipe above are here:
a) In an effort to get some maple flavour into the party, I added some Mapleine.
b) Instead of white sugar, I decided to substitute dark brown sugar equal to the amount of the Tender Quick used, which is a technique I have had some success with in similar projects, such as my venison "dried beef."
c) I planned to cool-smoke the cured loin filets for a few hours in my Little Chief smokehouse, but weather prevented this.
d) In lieu of the smoker, I brought the product up to about 150 degrees in the oven, so that it was "fully cooked" before packaging and could, if desired, be eaten "straight off the cut."
The project was not complicated at all, but it is one where you want to pay attention to procedure, because when curing meat, you want your amounts of cure and your length of time curing to be correct. Here's a shot of everything I used (Tender Quick is in the ZipLock bag):

The loin filets were a couple that I bought on sale just for this purpose. One was "plain," while the other was flavoured with some sort of "maple and bourbon" flavouring:

Skipping ahead a little, I noticed no appreciable difference in the finished products. The "maple and bourbon" one had just a tad more depth, but nothing to really get excited about.
Mapleine, as described above, is an imitation maple flavouring:

I used this imitation maple flavour, since the cost of maple sugar was prohibitive; It was adequate, but I would have preferred maple sugar, and might try maple syrup in a future attempt.
First, I trimmed the fat and silverskin from the loin filets:

Then, I weighed each loin:

This one got a little chopped up in the trimming, but that's ok:

The curing process will often "glue" pieces back together; if not, then those cut pieces will simply be used as "test pieces!"
Next, I cured each loin separately, following the directions for curing with Tender Quick:

Using a dry cure (The cut of meat is not soaked in a liquid pickle or brine), the directions call for using 1 tablespoon of Tender Quick per pound of meat, using whole cuts. Since the loin filets were each close to 2 pounds, I rounded up and used 2 tablespoons for each loin. I also added an equivalent amount of dark brown sugar for each loin.
I rubbed each loin filet (on its own paper plate) with the cure, then placed each loin (and any extra cure that fell off onto the paper plate) into a vacuum seal bag. Once this was done, I vacuum sealed each loin in its required amount of cure, with 1 tablespoon of Mapleine added to each bag:

Due to the difficulty of using the vacuum sealer with the Mapleine in the bag, I will probably use appropriately-sized ZipLock bags in the future. The vacuum-seal does have a few advantages when liquids are not used, because the sealing action "presses" against the meat, forcing the cure into it; however, you need to be careful when you put the stuff in, or the little grains of cure and/or sugar might prevent a good seal. To guard against this, I use a trick I learned from my friend BearCarver: roll the edges of the vacuum seal bag down a couple of inches, like cuffs on a pant leg. Problem solved!
As you can see above, I labeled the bags with an "in" date and an "out" date, which is determined by the thickness of the cuts of meat (5 days per inch of thickness). The "out" date is the earliest that the loins can come out of the cure, although leaving them in a day or three longer won't hurt. In this case, I ended up curing for a total of 12 days.
Once the curing was done, I removed the loin filets from the vacuum seal bags and soaked them in cold water for 30 minutes to remove excess salt. I fried up a couple of test pieces that had sloughed off during trimming, and they tasted great, with good, old-fashioned, sweet/salty cured flavour and a hint of maple. The Mapleine had coloured the meat so that it was a little darker than normal, but no worries.
I had planned on smoking the loins for a while in hickory or maple, using my Little Chief smoker, but the extreme January cold outside made this an impossibility. No worries, this was just a first attempt, and there will be many, many opportunities to make smoked Canadian bacon in the future!
With this in mind, I proceeded to Plan B. I gave them a good shaking of McCormick Smokehouse Maple Seasoning and cracked black pepper, and then put them in refrigerator overnight to develop a pellicle and absorb the seasonings. The next morning, I put them in the oven at 325 degrees for about an hour, until the internal temperature reached somewhere between 145 and 150 degrees. Here's how they looked when they came out:

Definitely good for a first attempt! I was impressed with colour and the aroma, and had to stop myself from trying them right away. Here's another shot:

Mustering all the self-control available to me, I put them in ZipLock bags and into the refrigerator overnight, so that the flavours could do a final mingling and marrying. This step, plus the overnight "pellicle" step, may or may not have been necessary for this non-smoked attempt, but they are absolutely necessary when smoking cured meats in order to improve the final product, and they surely couldn't hurt, so it was no big deal.
The next day, I removed them and cut them in half, opening them up to see what I had:

Try as I might, I never could get a good shot here; the interior kept washing out with a flash, or it was dark and blurry with no flash. It's too bad, because the beautiful, cured-pink interior was just about right:

I ran the Canadian bacon through my slicer, making fairly-thin slices, and tasted the finished product. I immediately got a mouthful of wonderful, complimentary flavours, and the texture was almost perfect, so I count it as a success. It would have been nice to smoke them, and the maple flavour didn't come through quite as much as I wanted to, but the salty-sweet, cured taste was definitely there, and this was at least as good as any Canadian bacon I have ever bought in a store. In subsequent days, I tried it cooked with eggs, on sandwiches, in soups and on pizza, and it was good every time.
Was I successful? Yes, for the most part. All-in-all, this method is very sound; I simply had a little bad luck in execution. I resolved that In future attempts I would definitely put the smoker to work; I will also double the amount of Mapleine I use or, if possible, use maple sugar or maybe even maple syrup. In any case, I will definitely be making this again, and looking forward to the results!
Thanks for following me on this journey as I tried something new. I believe that this pictorial is complete and will be useful for anyone wishing to try this; however, if anyone has any questions, please feel free to ask ~


