Post by TasunkaWitko on Feb 14, 2012 12:19:01 GMT -5

Photo credit:
Here is some background on this delicious and unique sandwich, which sprang up in the Miami, Florida area among the Cuban and Puerto-Rican populations:
History of Cuban sandwich- “Sandwiche Cubano”
(The way to pronounce “Cubano” just like the Cubans do is to say “Cooh-Wano” as the hard sound of the letter B is swallowed and slurred into the remainder of the word.)
The Cuban sandwich, also known as the “cubano”, is a popular meal in south Florida where many Cubans have settled since the early 20th century. These tasty, toasted Cuban sandwiches are definitely Tampa and Miami, Florida's favorite snack. These treats can be found in most restaurants in these cities, but the best places to buy them are from the street corner-snack bars, called loncherias.
Every Cuban sandwich aficionado believes in their own version of this sandwich. In fact, they're usually passionate about this and will readily debate among themselves the finer point of how to make a Cuban sandwich. No visit to Tampa or Miami would be complete without sampling the cities claim to fame - the Cuban sandwich. (To note : even the writer admits that there are different variants of the “true cubano”)
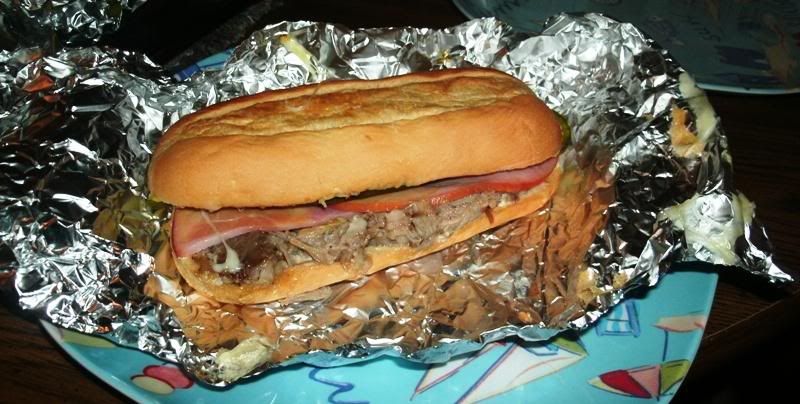
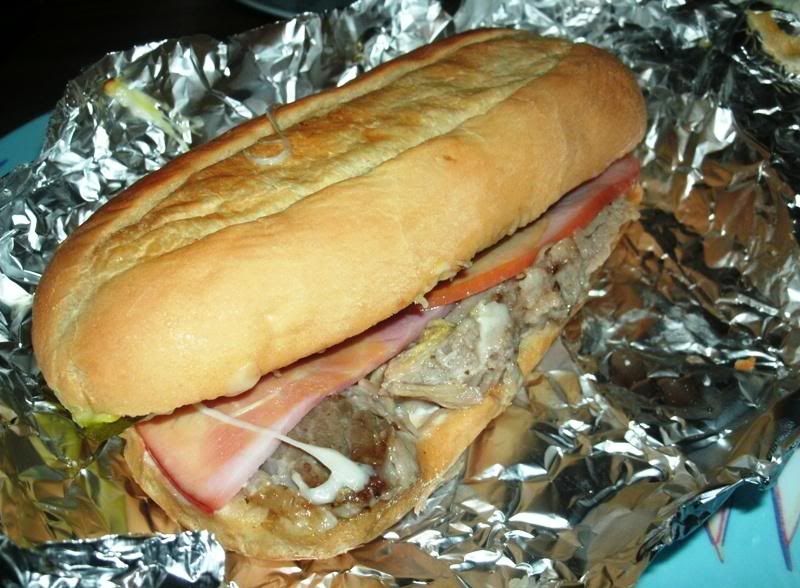
The sandwiches have a submarine-style layering of ham, roast pork, cheese, and pickle between a sliced length of Cuban bread. The key to a great, versus a good, Cuban sandwich lies in the grilling. A great Cuban sandwich is grilled in a sandwich press (called a plancha) until the ham, pork, and pickles have warmed in their own steam (the steady application of heat and weight fuse the meat, cheese, and bread into a delectable and compact treat). One of the greatest sins in Cuban sandwich preparation is too light a press. A heavy hand on the press pushes all the juices and flavors together while still achieving the desired crunch crust. These sandwiches use no mayonnaise, lettuce, onions, bell peppers, or tomatoes; however, butter and mustard are optional. Cuban sandwiches are sold hot (pressed) or cold (room temperature).
The most important part of a Cuban sandwich is the bread. It is not ordinary bread, but Cuban bread. Believers say that true Cuban bread cannot be found outside of Tampa or Miami. Italian bread or French bread are acceptable substitutions in other parts of the country, but they are not the same. Cuban bread is noted for its split or bloom down the middle of its crust. This long, crusty loaf features a tender, but not chewy, interior. Cuban bread is best when it is eaten on the same day that it is made, as Cuban bread contains lard. After a day or so, the lard hardens, and the bread gets dry.
copyright 2004 by Linda Stradley
In order to make these, you will need to go in three steps: first, you need to marinate a pork roast in adobo mojado, then you will need to roast or barbecue it until it is wonderfully moist and tender; finally, you will need to assemble the sandwiches.
Here are the recipes for all three steps, from Daisy Martinez. If you are interested in giving this a try, please also follow the links preceding the adobo mojado and pernil recipes for some notes and discussion that may be helpful.
First, the adobo mojado marinade for the pork roast:
Adobo Mojado
You’ll hear me say over and over how a simple thing like sofrito will change your life. This is another one of those little life-changing secrets. Adobo...either wet or dry..., will change the way you make pork, chicken, beef, and even fish. I run the risk of repeating myself, but this is not shy or subtle. It is very much “in your face” food, and I mean that, of course, in a good way.
Yield : Makes about ½ cup
Ingredients
12 cloves garlic, peeled
1½ tablespoons fine sea or kosher salt (see Notes)
1 tablespoon black peppercorns
2 tablespoons dried oregano
2 tablespoons olive oil
2 tablespoons white wine vinegar
Directions
Pound the garlic cloves and salt to a paste using a mortar and pestle. Add the peppercorns and oregano, pounding well after each one to incorporate them into the paste. Stir in the oil and vinegar.
Notes
The salt keeps the garlic from flying all over the place as you pound them together.
This wet rub will keep for 5 to 6 days in the refrigerator, which gives you a chance to try it on anything you like, from fish fillets and pork chops to turkey cutlets and steaks.
© 2005 Daisy Martinez
Next, the preparation of the pernil (roast pork):
Pernil
If you were to ask me, “What does Christmas smell like?” I wouldn’t say “pine” or “fresh snow,” I would say, “Pernil.” By the time my kids finish their cereal on Christmas Eve morning, the house is filled with the wonderful aroma of roast pork.
You want the shoulder, not the butt, for this, and you definitely want the skin on. If you have the opportunity to marinate the roast for three days, two days, or even overnight, you’ll be rewarded with a roast that has juicy, fragrant, tender meat and crispy, salty, mahogany-colored skin. It’s so good, I’m almost afraid I have to bring it up in confession!
Yield : Makes 8 large servings plus leftovers
Ingredients
One 4½-pound skin-on pork shoulder roast
Adobo Mojado (wet rub for meat)
Directions
1. Up to 3 days before you serve the roast, set it in a bowl, skin side up. With a paring or boning knife, make several slits about ½ inches apart through the skin of the roast and into the meat. Make the slits as deep as you can. Wiggle a finger in the slits to open them up a bit and then fill each one with wet rub using a teaspoon. (A pair of latex gloves comes in handy when it comes time to rub the wet rub into the pork.) Do the same on all sides. If you have rub left over, smear it all over the outside of the roast. Refrigerate, covered, at least 1 day or up to 3 days.
2. Preheat the oven to 450°F.
3. Set the roast, skin side up, on a rack in a roasting pan. Roast for 1 hour, turn the heat down to 400°F, and roast until the skin is a deep golden brown and crackly and with no trace of pink near the bone, about ½ hours or until an instant reading thermometer inserted near the bone registers 160°F. Let the roast rest at least 15 minutes before carving.
4. To serve, remove the crispy skin. It will pull right off in big pieces. Cut them into smaller pieces—kitchen shears work well for this—and pile them in the center of the platter. Carve the meat parallel to the bones all the way down to the bone. (It will get trickier to carve neat slices as you get near the bone; don’t let that bother you.)
Notes
A good rule of thumb for roasting pork is to cook the roast half an hour for every pound.
© 2005 Daisy Martinez
And finally, the assembly and cooking of the sandwiches themselves:
Cubanos
If you have a panini maker or grilled sandwich maker, this is a good place to use it. Be generous with the meat—make it as if it’s for someone you really love.
Yield : Makes 4 servings
Ingredients
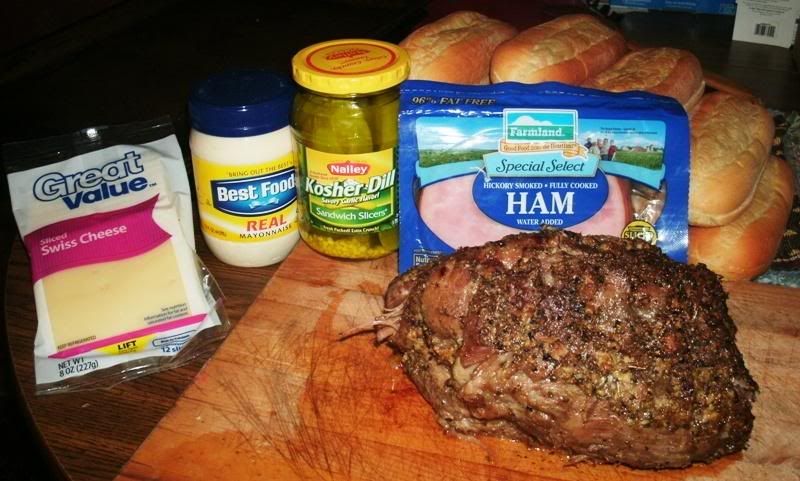
1 loaf Italian bread (about 24 inches long) or 4 hero rolls
Mayonnaise
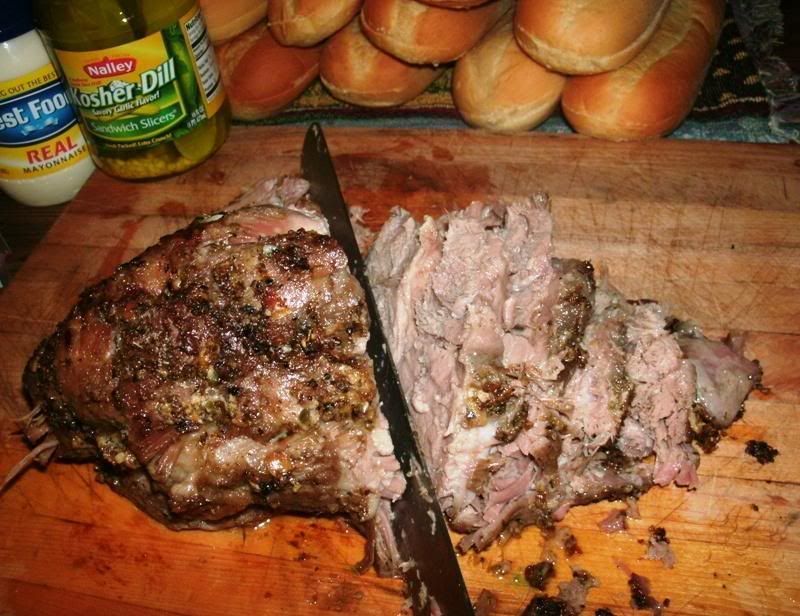
Sliced leftover pernil (Puerto Rican Roast Pork Shoulder)
3 fairly thick slices boiled ham
Sliced bread and butter pickles or any other type of pickle you like
½ pound fairly thickly sliced Swiss cheese
Directions
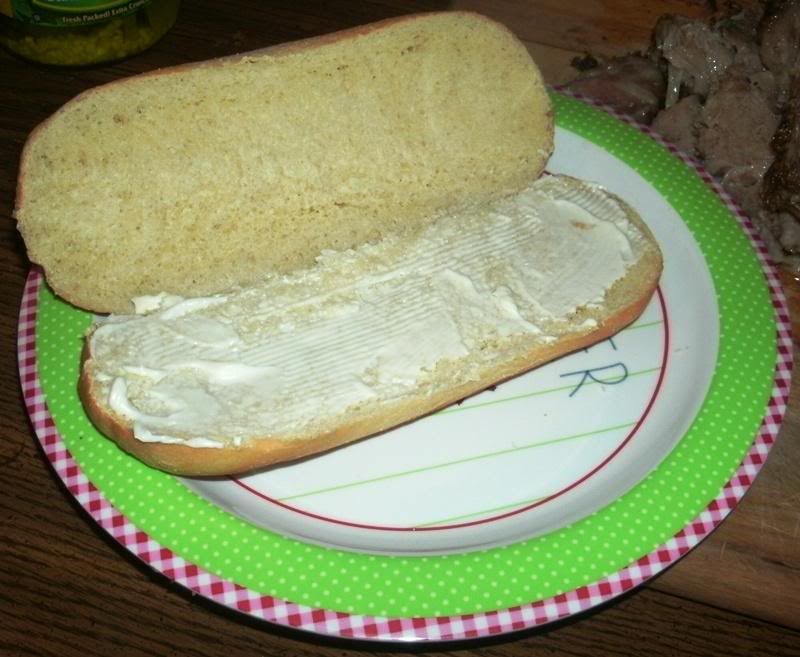
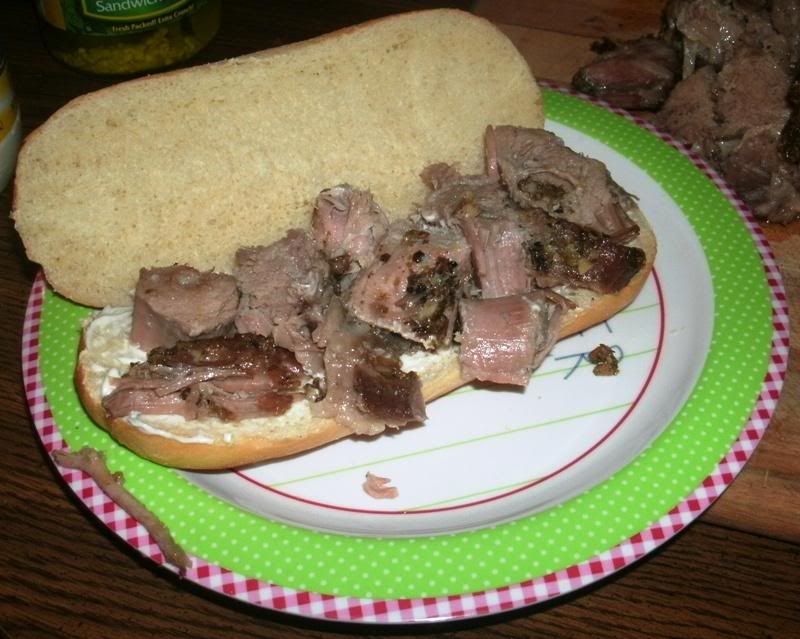
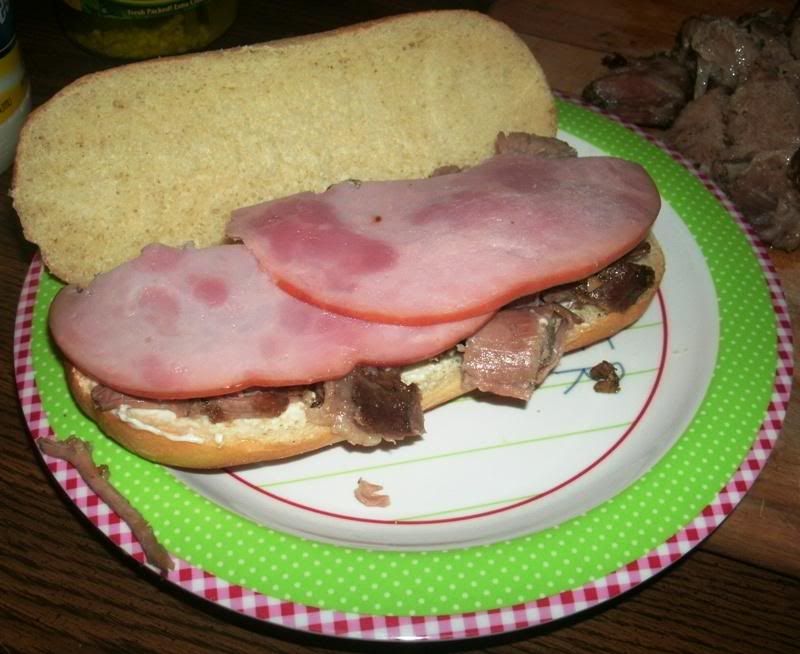
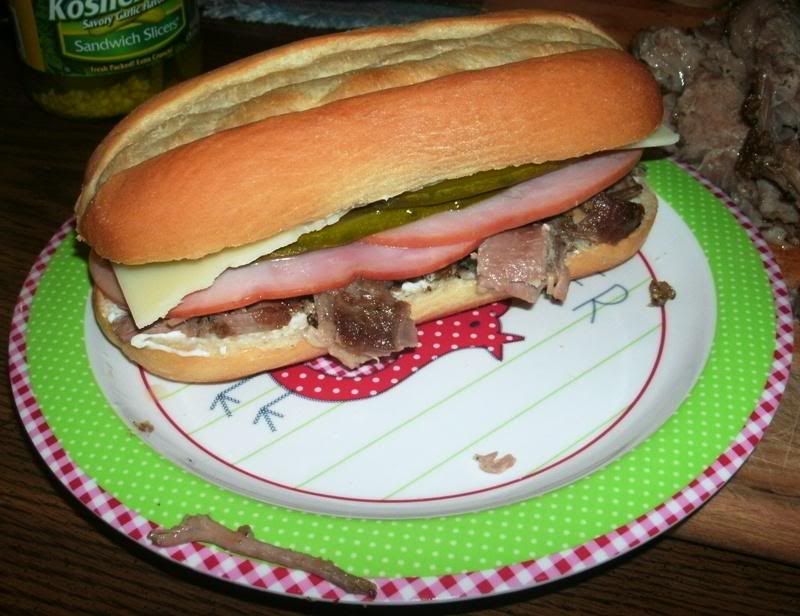
1. Preheat the oven to 350°F. Split the bread lengthwise and spread the bottom of the loaf with mayo. Make an even layer of the pork, then add the ham, pickles, and cheese. Top with the other piece of bread and press lightly but firmly.
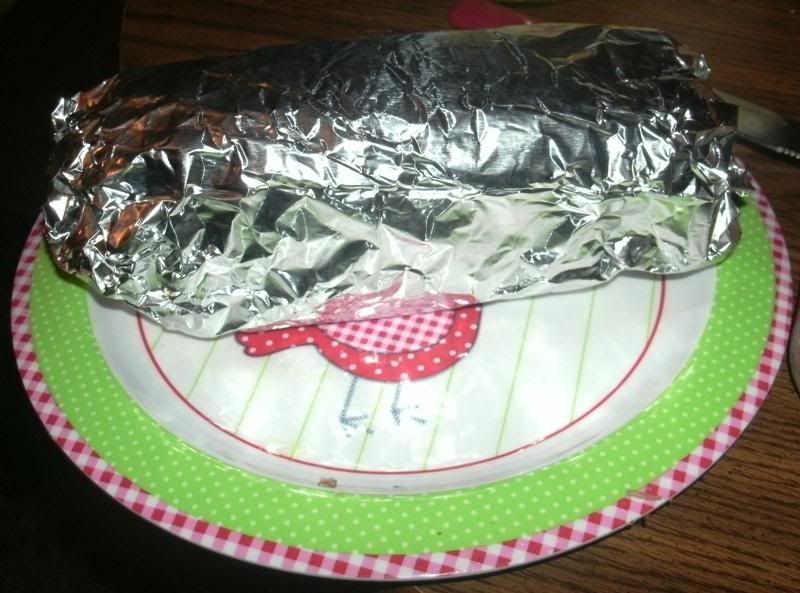
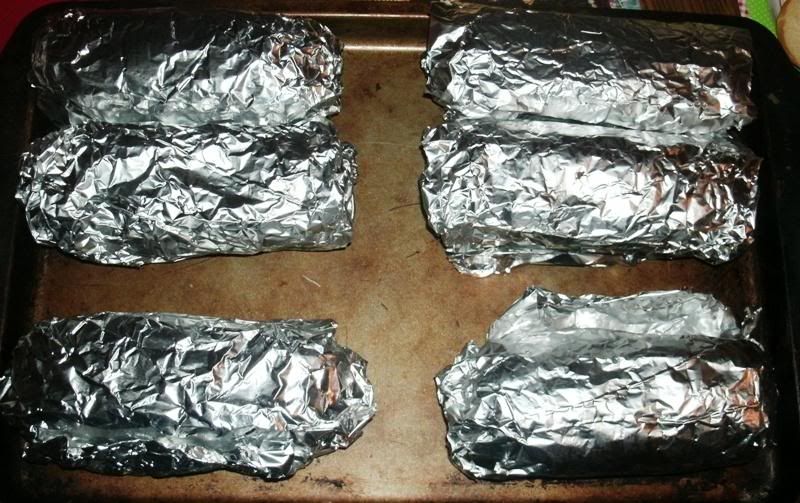
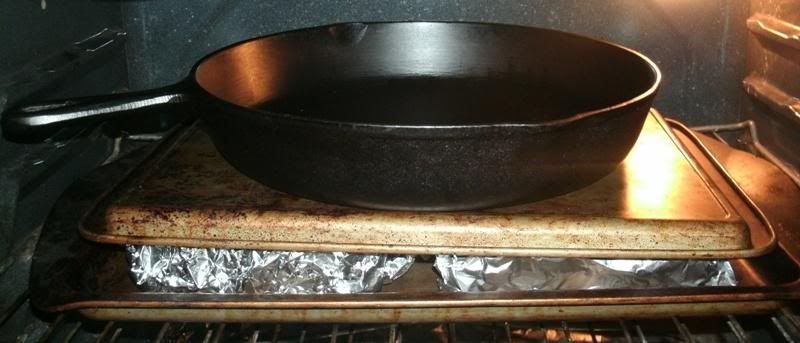
2. Wrap the sandwich(es) securely in foil and lay between 2 baking sheets. Set on the oven rack and weight the top sheet with a heavy ovenproof skillet. Bake until warmed through and the cheese has softened, about 30 minutes. Serve warm, cut into manageable pieces.
© 2005 Daisy Martinez
Now, armed with this information, you're ready to give this a try! Let's have a look at how to do this "by the numbers...."
The first step in preparing Cubanos is making the pernil, and the first step in making pernil is making the adobo mojado - here's how it's done.
Here are the goods - as easy as it gets:
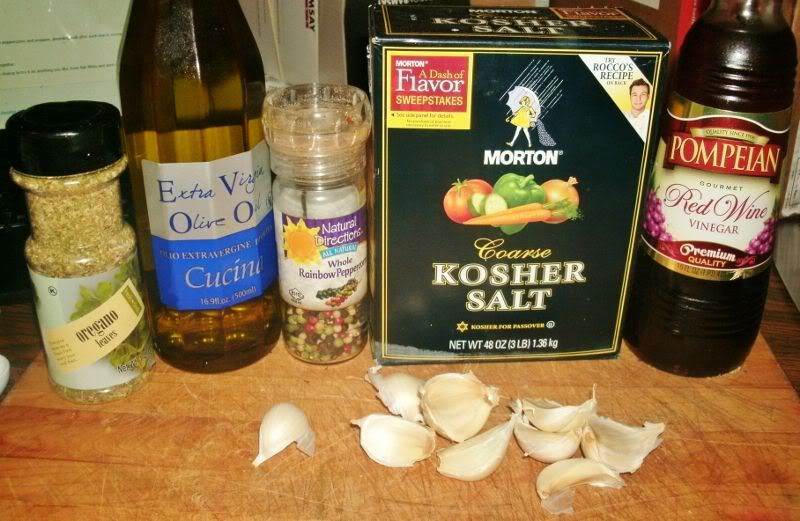
The garlic cloves I used were very large, so I didn't quite use a dozen of them. Also, I didn't have any white wine vinegar on hand, but no matter - red wine vinegar is just fine; nearly any acidused in cooking would do. A lot of times "bitter orange" juice (from Seville oranges) or some other citrus combination is used.
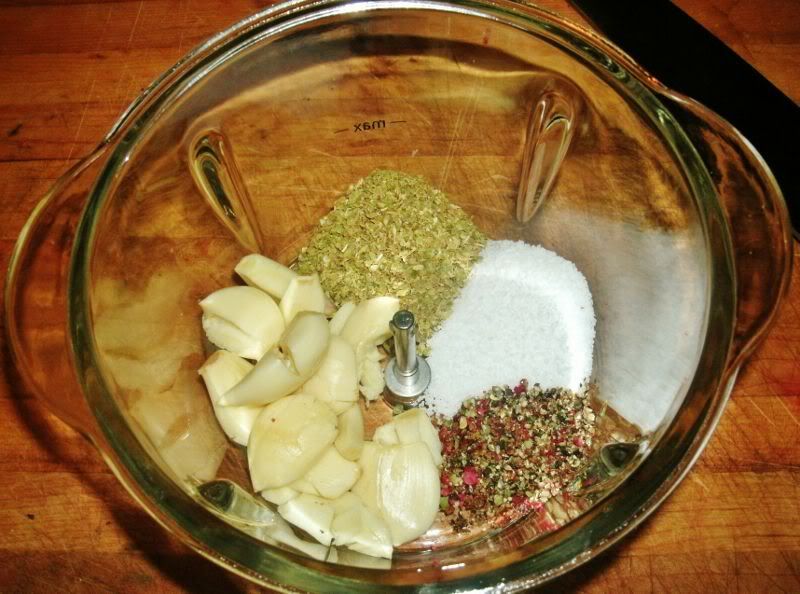
After crushing and peeling the garlic cloves, I placed them in the food processr with (clockwise from top) oregano, kosher salt and pepper:
Next, I added the olive oil and the red wine vinegar:
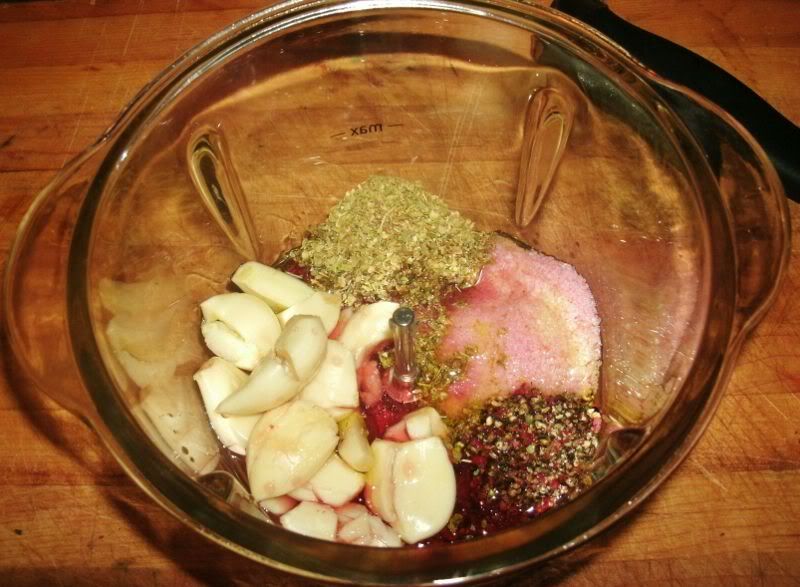
I actually added a teaspoon or so extra of olive oil, since the bottle was nearly empty - but that's no problem.
I pulsed the food processor a few times:
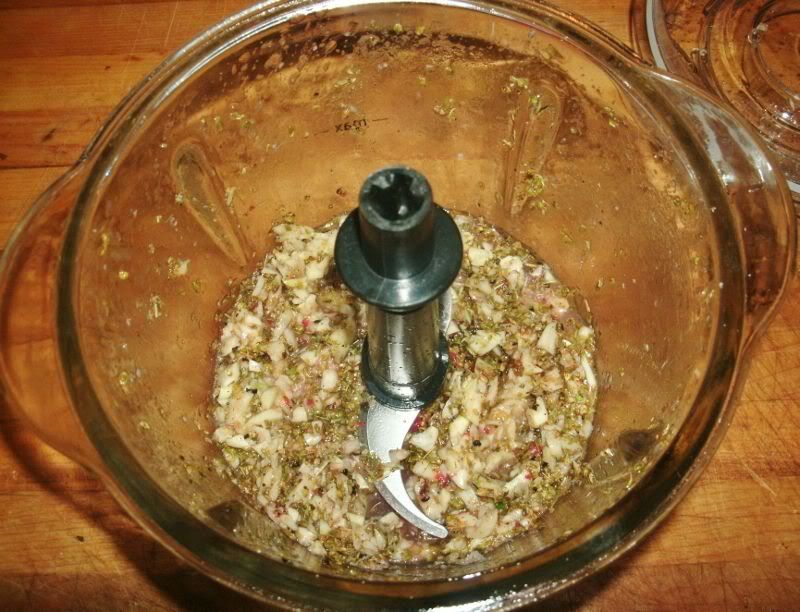
Not quite done enough for my preference, so I pulsed it some more, using longer pulses:
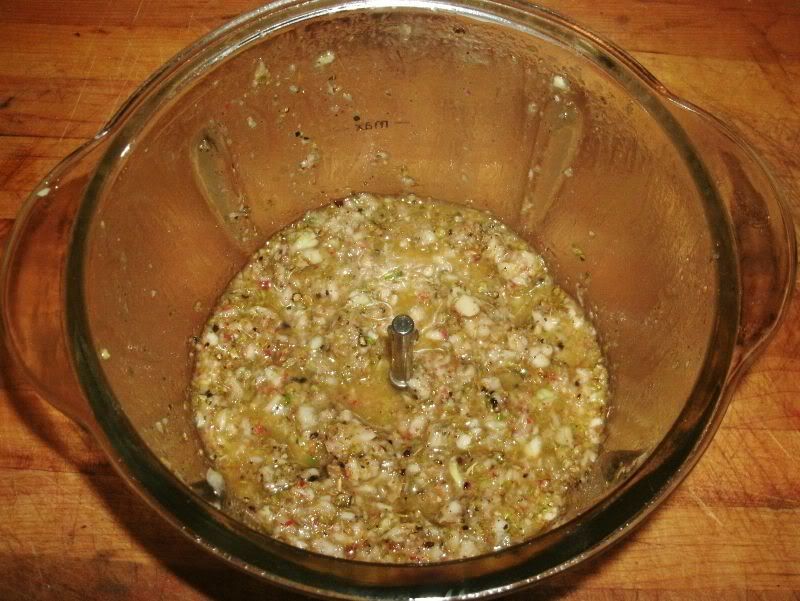
That's just about right! It can be pulverized even more, if one wishes, but this is what I wanted, so this is what I got.
How easy is that?
Once the adobo mojado was ready, I turned my attention to the pork:
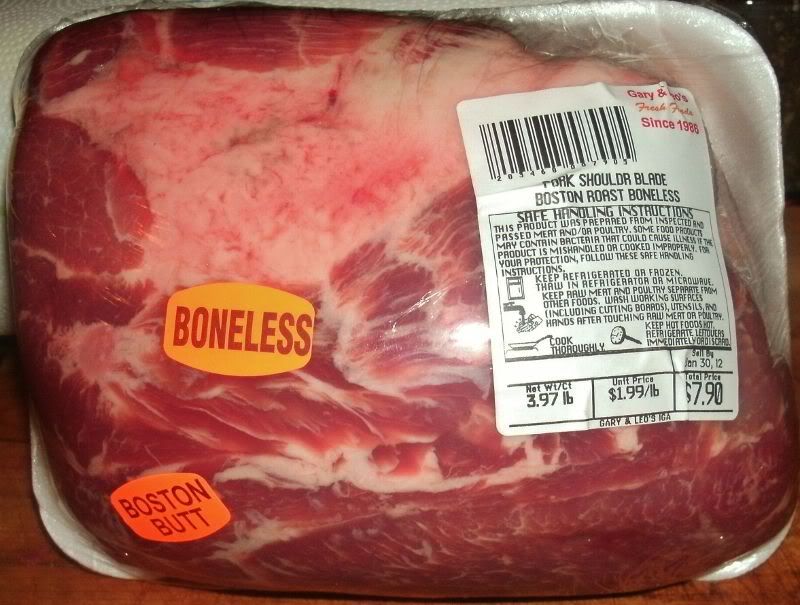
Since I'm going to be slicing this for Cubanos, a boneless shoulder cut is perfect; however, if this were going to be for a roast pork supper, then a bone-in shoulder would be fine as well.
This roast is just under 4 pounds - the amount of adobo mojado that I made works well for this:
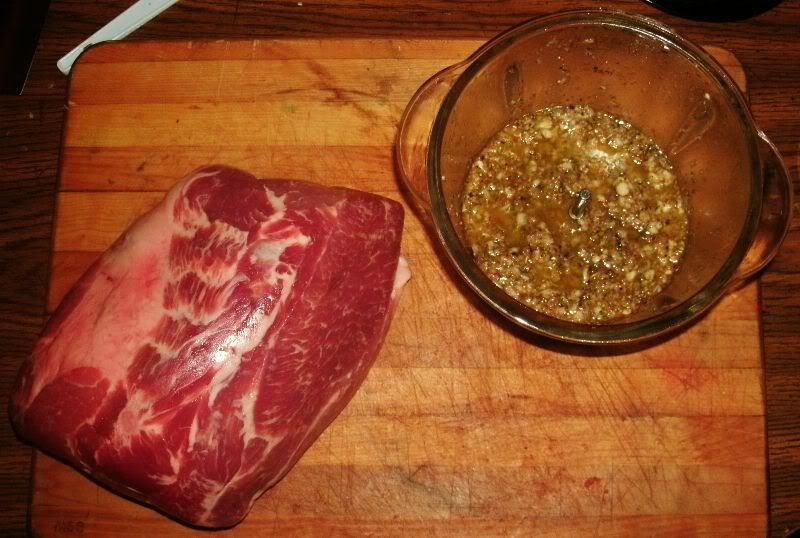
And I could probably go another half-pound more before I needed to make a second batch of adobo mojado.
Ideally, I would marinate the pork in a ziplock bag or possibly even a vacuum sealer, but today, I did it in a large "popcorn bowl." I began by putting a little of the adobo mojado in the bottom of the bowl:
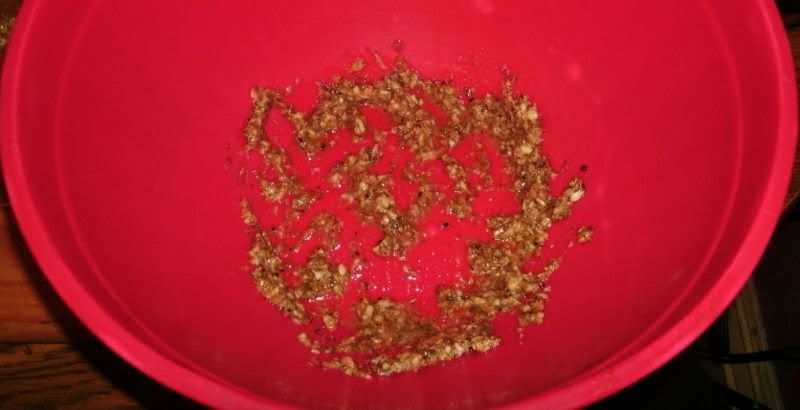
Then I pressed the pork, fat-cap-down, into the bottom and proceeded to spread the remaining adobo mojado on top of the shoulder roast:
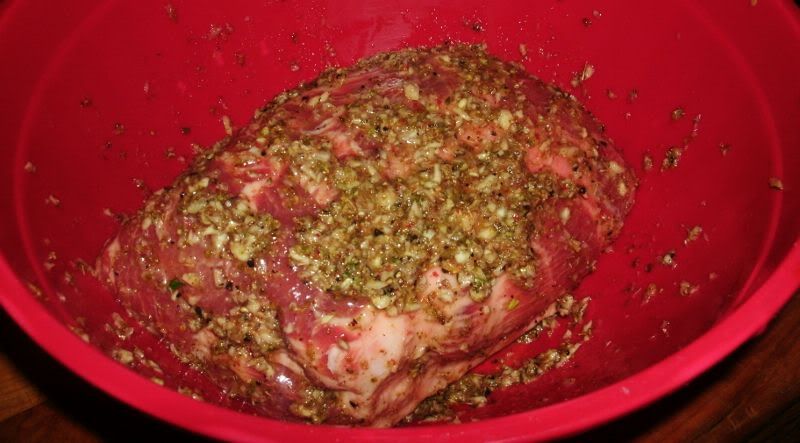
I then covered the roast and bowl well, and put them in the refrigerator to marinate until Saturday (3 days). I will turn the roast over a couple of times a day and keep it covered with the adobo mojado.
Please note, people ~ I did make ONE mistake in my procedure up there! I coated the outside of the roast with adobo mojado, which is fine, but I should have also cut a few fairly-deep slits into the roast in various places and worked some of the rub into the interior of the roast, as well.
I did just that the first time I made pernil, and it did absolutely wonderful things for the pork. Considering the nature of the rub ingredients, which tend to carmelise and nearly burn on the outside while cooking, it actually seems better to me that most of the rubu should be on the inside of the roast, rather than on the outside, where it just sloughs off and turns black.
In any case, the cutting and inserting of the adobo mojado INTO slits in the roast is definitely recommended, but I neglected to do that above. For best results, make sure you give this procedure a try.
On another note, the pernil and the sandwiches Cubanos turned out very well, actually better than I expected! Will post on results, including step-by-step pictures, as soon as I can.
More to come!


